从零开始创建一个Hardhat项目
创建及配置Hardhat项目
Hardhat 构建在 Node.js 之上, 使用 Hardhat 要求我们在电脑先安装好Node.js (>= 16.0), 环境准备可以参考这里。
先创建项目目录:
mkdir hardhat-tutorial
cd hardhat-tutorial
初始化 Node 项目:
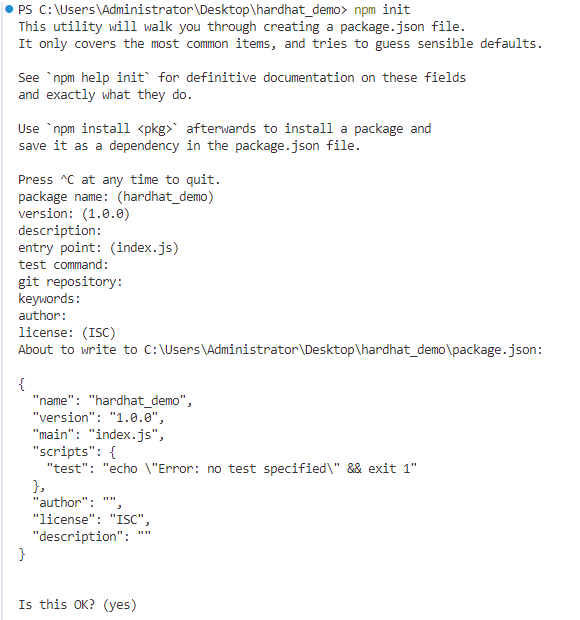
npm init
安装 Hardhat :
npm install --save-dev hardhat
在安装Hardhat的目录下运行:
npx hardhat
使用键盘选择”创建一个 JavaScript 工程(Create a JavaScript project)” ,然后回车。
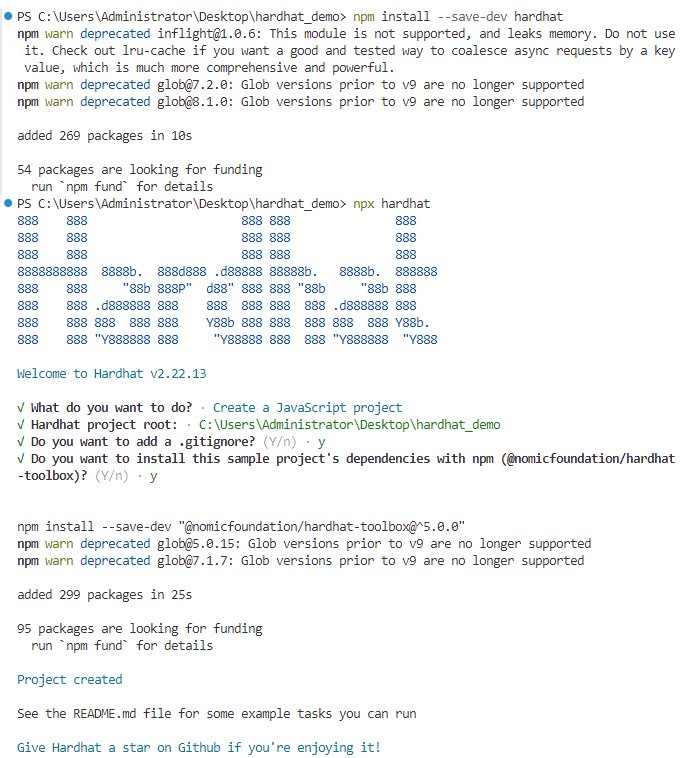
这个 JavaScript Hardhat 工程会默认下载 hardhat-toolbox 插件及一些常规设置:
创建好的 Hardhat 工程包含下列文件:
contracts:智能合约目录scripts:部署脚本文件test:智能合约测试用例文件夹。hardhat.config.js:配置文件,配置hardhat连接的网络及编译选项。
编写合约
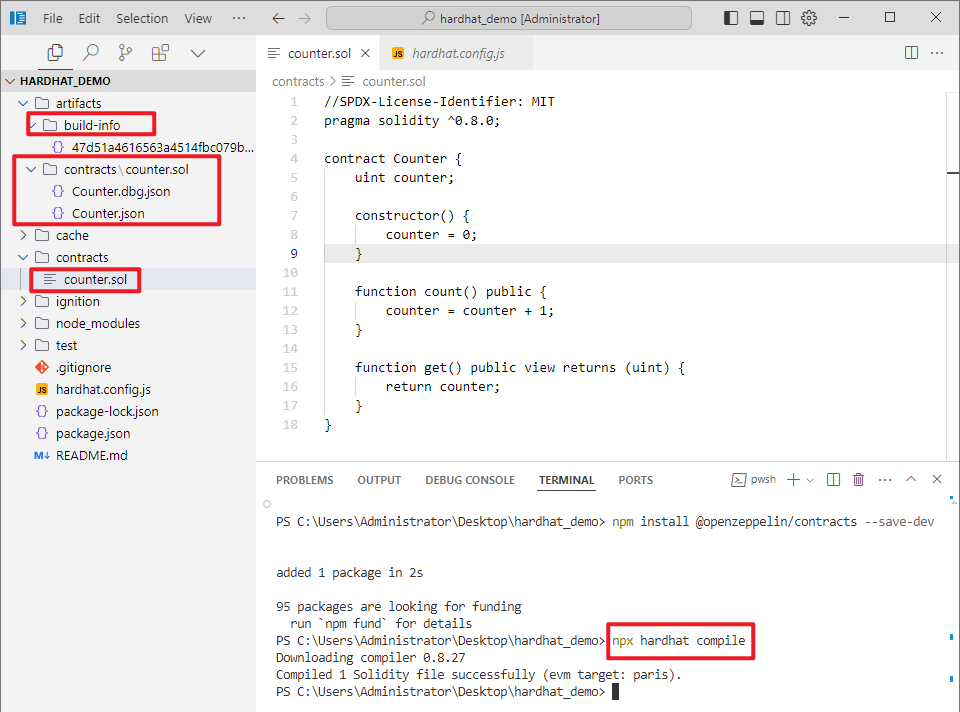
合约开发推荐使用 VSCode / Cursor 编辑器 + solidity 插件,在contracts 下新建一个合约文件 Counter.sol (*.sol 是 Solidity 合约文件的后缀名), 复制如下代码:counter.sol
//SPDX-License-Identifier: MIT
pragma solidity ^0.8.0;

contract Counter {
    uint counter;

    constructor() {
        counter = 0;
    }

    function count() public {
        counter = counter + 1;
    }

    function get() public view returns (uint) {
        return counter;
    }
}
接下来就可以编译这个合约了。
编译合约
hardhat.config.js 有默认的Solidity 编译器配置:hardhat.config.js
require("@nomicfoundation/hardhat-toolbox");

/** @type import('hardhat/config').HardhatUserConfig */
module.exports = {
  solidity: "0.8.27",
};
因此我们直接编译合约即可,在终端中运行 npx hardhat compile 。 compile任务是内置任务之一。
$ npx hardhat compile
Downloading compiler 0.8.27
Compiled 1 Solidity file successfully (evm target: paris).
合约已成功编译了。
成功编译后,会在 artifacts/contracts/ 目录下生成Counter.json 和 build-info, Counter.json包含了智能合约的 ABI 、字节码(Bytecode)等。
提示
智能合约的 ABI(Application Binary Interface)信息,其中包括了合约的函数、事件等接口信息。这个文件通常会在与其他合约交互时使用,因为它可以被其他合约和 DApp 使用。
Bytecode是部署合约所需的字节码(也称为创建时字节码),部署合约时,就是把该字节码作为交易的输入数据发送链上。
编写测试用例
为智能合约编写自动化测试至关重要,因为事关用户资金。
在我们的测试中,使用 Harhdat 内置的网络,使用ethers.js与前面的合约进行交互,并使用 Mocha 作为测试运行器。
在项目 test下,并创建一个名为Counter.js的新文件:./test/Counter.js
const { ethers } = require("hardhat");
const { expect } = require("chai");

let counter;

describe("Counter", function () {
  async function init() {
    const [owner, otherAccount] = await ethers.getSigners();
    const Counter = await ethers.getContractFactory("Counter");
    counter = await Counter.deploy();
    await counter.waitForDeployment();
    console.log("counter:" + await counter.getAddress());
  }

  before(async function () {
    await init();
  });

  //
  it("init equal 0", async function () {
    expect(await counter.get()).to.equal(0);
  });

  it("add 1 equal 1", async function () {
    let tx = await counter.count();
    await tx.wait();
    expect(await counter.get()).to.equal(1);
  });

});
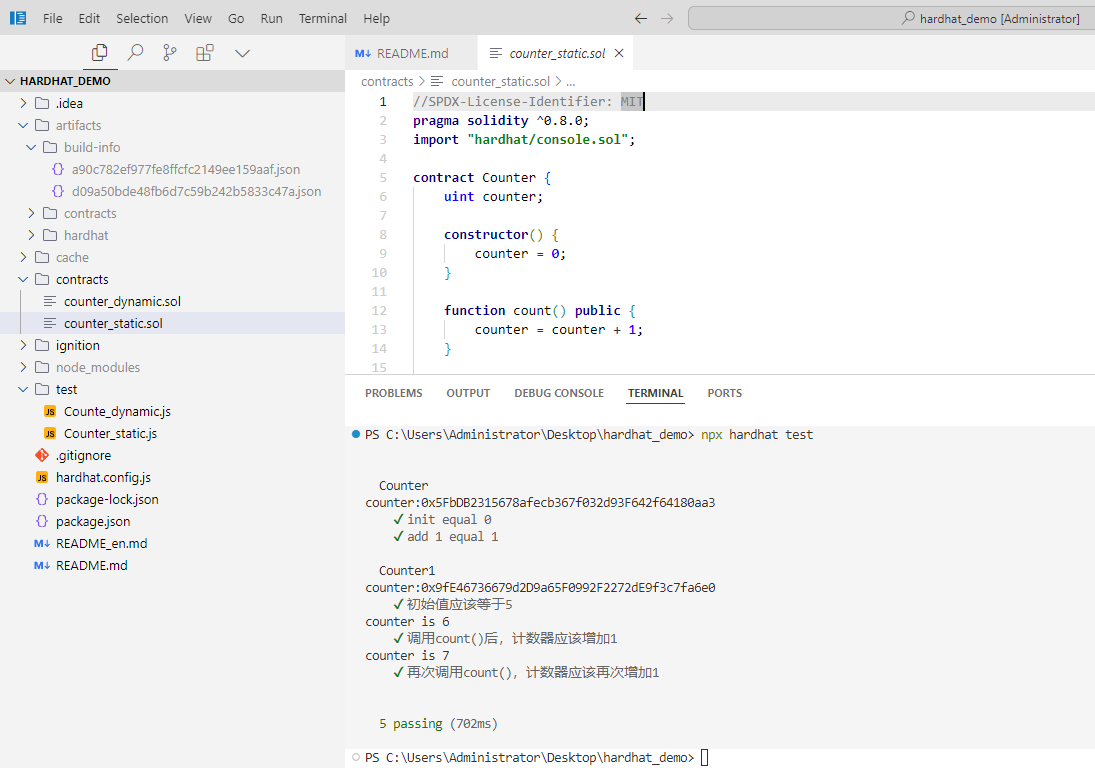
在终端上运行npx hardhat test。 你应该看到以下输出:
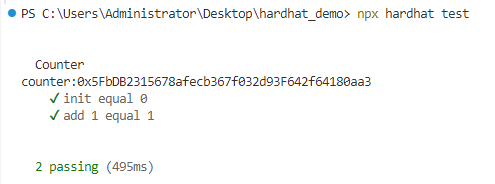
这意味着测试通过了。 现在我们解释下主要代码:
const Counter = await ethers.getContractFactory("Counter");
ethers.js中的ContractFactory是用于部署新智能合约的抽象,因此此处的Counter是用来实例合约的工厂。
counter = await Counter.deploy();
在ContractFactory上调用deploy()将启动部署,并返回解析为Contract的Promise。 该对象包含了智能合约所有函数的方法。
let tx = await counter.count();
await tx.wait();
在counter 上调用合约方法, 并等待交易执行完毕。
注意,默认情况下, ContractFactory和Contract实例连接到第一个签名者(Singer)。
若需要使用其他的签名者, 可以使用合约实例connect 到另一个签名者, 如 counter.connect(otherAccount)
expect(await counter.get()).to.equal(0);
判断相等,我们使用Chai,这是一个断言库。 这些断言函数称为“匹配器”,在此实际上使用的“匹配器”来自Hardhat Chai Matchers。
使用 Console.log 调试合约
在Hardhat Node 节点上运行合约和测试时,你可以在Solidity代码中调用console.log()打印日志信息和合约变量,可以方便我们调试代码。
在合约代码中导入Hardhat 的console.log就可以使用它。
import "hardhat/console.sol";
导入语法如上,
本文对应的代码仓库在:https://github.com/ranxi2001/hardhat_demo
文档对应的合约和测试代码可直接在下面链接处复制(需要对应静态和 动态版本——参数构造函数):
静态版本:
- 合约:
- 测试:
动态版本:
就像在JavaScript中使用一样, 将一些console.log添加到函数中,运行测试时,将输出日志记录:
可以在这里了解更多 console.log 。
部署合约
本地部署
其实我们在测试时, 合约已经部署到了Hardhat 内置的网络上,部署合约我们需要编写一个部署脚本。
在scripts文件夹,新建一个deploy.js 用来写部署脚本,部署脚本其实和前面测试时 init 函数类似:
const { ethers } = require("hardhat");

async function main() {

    const Counter = await ethers.getContractFactory("Counter");
    const counter = await Counter.deploy();
    await counter.deployed();

    console.log("Counter address:", counter.address);
}

main();
运行 npx hardhat run scripts/deploy.js 时,合约会部署到 Hardhat 内置网络上。
> npx hardhat run scripts/deploy.js
Compiled 1 Solidity file successfully (evm target: paris).
CounterStatic address: 0x5FbDB2315678afecb367f032d93F642f64180aa3
CounterDynamic address: 0xe7f1725E7734CE288F8367e1Bb143E90bb3F0512
链上部署
为了在运行任何任务时指示Hardhat连接到特定的EVM网络,可以使用--network参数。 像这样:
npx hardhat run scripts/deploy.js --network <network-name>
network-name 需要在 hardhat.config.js 文件中进行配置:
配置文件的写法可以参考官网:https://hardhat.org/hardhat-runner/docs/config
require("@nomicfoundation/hardhat-toolbox");

// 填入自己的私钥或助记词,
const PRIVATE_KEY1 = "0x.... YOUR PRIVATE KEY1";
const PRIVATE_KEY2 = "0x....  YOUR PRIVATE KEY1";
const Mnemonic = "YOUR Mnemonic";


module.exports = {
  solidity: "0.8.0", // solidity的编译版本
  networks: {
    goerli: {
      url: "https://sepolia.infura.io/v3/<key>",
      accounts: [PRIVATE_KEY1,PRIVATE_KEY2],
      chainId: 5,
    },

     mumbai: {
      url: "https://endpoints.omniatech.io/v1/matic/mumbai/public",
      accounts: {
        mnemonic: Mnemonic,
      },
      chainId: 80001,
    },
  }
};
以上配置了两个网络,一个是以太坊测试网 goerli, 一个是 Polygon 测试网mumbai, 我们可以在 https://chainlist.org 找到每个网络的节点 URL 及 chainID。
在网络配置中,需要提供钱包交易账户, 可以通过私钥或助记词 进行配置,这里配置的账号(需要提前充币进入到账号中),在hardhat 脚本中(测试及部署脚本)调用getSigners 即可获得:
const [owner, otherAccount] = await ethers.getSigners();
一个私钥对应一个Singer,助记词则对应无数个 Singer , 为每个项目生成一个独立的账号是比较推荐的做法,使用 ChainTool 开源工具 可以生成账号。
提示
助记词可以推导出无数了私钥,可参考:BIP39
另外要注意, 在 Goerli 上进行部署,需要将Goerli-ETH发送到将要进行部署的地址中。 可以从水龙头免费获取一些测试币,这是Goerli的一个水龙头:
最后运行:
npx hardhat run scripts/deploy.js --network goerli
如果一切顺利,你应该看到已部署的合约地址。
真实的链上部署演示将会在下一篇讲述: Hardhat实战篇——将合约部署到测试网.md
参考文献:
[1] Hardhat 开发框架,DeCert.me,https://decert.me/tutorial/solidity/tools/hardhat/